
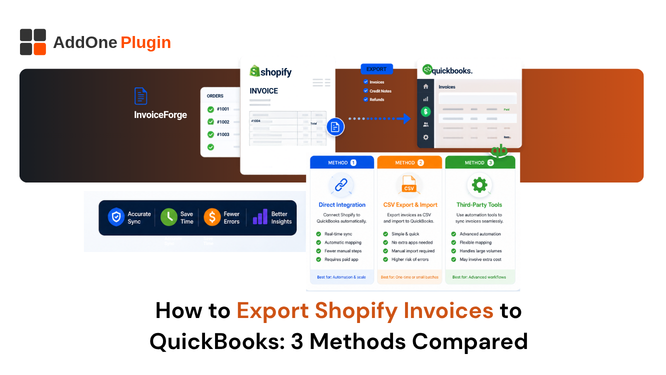
There are three real ways to get Shopify invoice data into QuickBooks, and most articles online only walk through one of them in enough detail to actually follow. This guide covers the setup steps for all three, so you can pick the method that matches your order volume and see exactly what each one involves before you commit an afternoon to it.
Method 1: QuickBooks Online Connector by Intuit
This is the free, native option, built and maintained by Intuit specifically for Shopify stores.
Step-by-Step Setup
Install the QuickBooks Online Connector from the Shopify App Store, authorize the connection with your QuickBooks Online account, and map your Shopify products and customers to the corresponding QuickBooks fields. Once mapped, new orders sync automatically going forward.
What This Method Doesn’t Solve
The connector syncs individual orders but does not reconcile payouts against your bank deposits. If you use more than one payment gateway, you will still need to manually match each deposit in your bank feed to the orders that make it up, which is exactly the reconciliation headache most stores are trying to avoid.
Method 2: Payout Reconciliation Apps (A2X, Link My Books)
These apps take a different approach: instead of syncing every order individually, they summarize each Shopify payout into a single journal entry that matches your bank deposit exactly.
Step-by-Step Setup
Connect the app to both your Shopify store and your QuickBooks account, then map your sales, fee, refund, and tax categories to the correct QuickBooks accounts (a one-time setup step). Going forward, each payout posts automatically as a summarized entry once it clears.
Cost and When It Pays Off
These apps typically charge based on order volume or payout frequency, which makes them worth the cost specifically for stores where multi-gateway reconciliation is eating real staff hours every week. For a lower-volume store, the manual matching involved with Method 1 may still be faster overall.
Method 3: One-Click Export From Your Invoicing App
The third option skips payout summarization entirely and instead exports invoice-level data directly from the app generating your invoices in the first place.
Exporting Invoice-Level Data Instead of Payout Summaries
Rather than working backward from a bank deposit, this method works forward from the invoice itself, exporting the exact numbers that were on the document your customer received. This matters most for B2B and wholesale stores where invoice numbers, not payout totals, are what customers and auditors reference.
Step-by-Step With InvoiceForge
From your InvoiceForge dashboard, navigate to the accounting export section, select QuickBooks or Xero as the destination, choose your date range, and export. The invoice numbers, line items, and tax breakdown match exactly what was sent to the customer, since both come from the same underlying record. Setting up compliant numbering first makes this cleaner; see our guide on customizing your invoice number format.
Which Method Actually Matches Your Invoice Numbers?
If your invoice numbers need to tie directly back to what shows up in your accounting software, Method 3 is the only one of the three built around that requirement specifically, since Methods 1 and 2 both work from order or payout data rather than the invoice document itself.
Choosing Based on Order Volume and Complexity
A store doing under 100 orders a month with a single payment gateway can usually get by with Method 1 alone. A store processing high volume across multiple gateways benefits most from Method 2’s payout summarization. A B2B or wholesale store where invoice-level accuracy matters, especially with PO numbers and net terms in play, benefits most from Method 3. Our full export guide covers how to combine more than one method if your store spans multiple sales channels.
None of these three methods is universally correct. InvoiceForge’s built-in export is worth testing first if invoice-level accuracy against what your customers actually received matters more than payout-level summarization.