
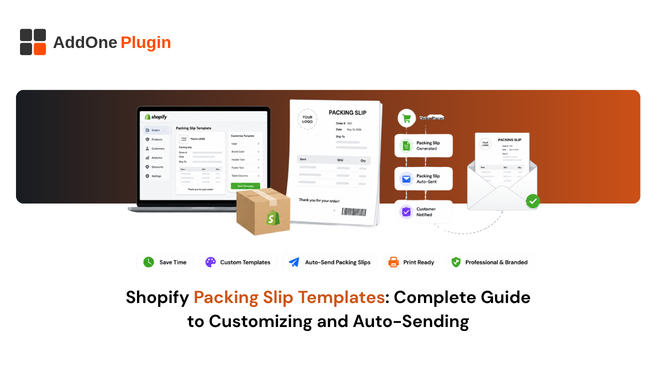
A packing slip does a different job than an invoice, and mixing the two up is a common, avoidable mistake that causes real confusion at fulfillment time. If you are setting up or customizing your packing slip template for the first time, here is what actually needs to be on it, how to customize Shopify’s native version, and where automation genuinely fits in.
What a Packing Slip Is (and Isn’t)
Before customizing anything, it helps to be clear on what a packing slip is actually for, since the confusion between packing slips and invoices is where most template mistakes start.
Packing slip vs invoice vs purchase order
A packing slip lists what is physically inside a shipment: items, quantities, and shipping details. It is not a legal payment document, and it carries no tax obligations the way an invoice does. A purchase order is created by the buyer and includes payment terms and negotiated pricing; a packing slip is created by the seller and generally does not include pricing information at all, since its job is confirming contents, not confirming cost.
Treating these three documents as interchangeable is a surprisingly common mistake, especially for newer merchants setting up their fulfillment process for the first time. Getting the distinction right early saves confusion later, both for your own team and for customers who receive the wrong type of document for their needs.
What legally needs to appear on one
There is no universal legal requirement for packing slip content the way there is for VAT invoices, but practically, a usable packing slip needs the order number, shipping address, and a clear list of items and quantities shipped. Some merchants also include return instructions and a customer service contact, which is not legally required but genuinely reduces support tickets.
Customizing Shopify’s Native Packing Slip Template
Shopify includes a packing slip template with every store at no cost, editable directly from your admin without needing a separate app.
Editing the Liquid template
From Settings, Shipping and delivery, you can open the packing slip template and edit the underlying Liquid, HTML, and CSS code directly. This gives you real control over layout and content, provided you or someone on your team is comfortable working directly with code rather than a visual editor.
Adding your logo and branding
After uploading your logo through Content, Files, you can reference it in the template code to replace your plain store name with a branded image at the top of the slip. This is a small change that meaningfully improves how professional the unboxing experience feels, particularly for B2B customers who associate polished paperwork with a more established, trustworthy vendor.
Common customization mistakes
Editing the address or logo variables incorrectly is the most common issue merchants run into, since the template relies on specific Liquid variable names that need to match exactly, or the field simply will not render. Always test a change on a real order before rolling it out broadly, since a broken variable can silently fail rather than throwing an obvious error.
Can You Auto-Send Packing Slips With Orders?
Shopify’s native packing slip feature is built for printing, not automated email delivery; packing slips print when you fulfill an order, but there is no built-in way to have them automatically emailed to a customer or third party.
Native limitations on automated sending
If you want packing slips to be automatically attached to shipping confirmation emails or sent to a fulfillment partner, that requires a third-party app or custom development, since the native app was designed around the print workflow specifically, not automated distribution.
What third-party apps add
Some order printer and shipping apps extend packing slips with automated delivery, batch printing beyond Shopify’s native limits, and additional branding controls beyond what the native template editor supports out of the box. Whether that added functionality is worth a paid app depends on how much manual printing your team is currently doing, and how much of a bottleneck it has genuinely become.
Where This Fits Alongside Your Invoicing
A packing slip and a compliant VAT or GST invoice solve different problems, and it is worth treating them as two separate pieces of your fulfillment and paperwork setup rather than assuming one tool naturally covers both. If your invoicing is already automated but your packing slips are still a manual, native-template print job, that is a reasonable gap to close on its own timeline, separate from any invoicing decision. See what a VAT invoice actually requires on Shopify for the compliance side of that equation.
Packing Slips That Match Your Brand
Template checklist
- Confirm your logo and store details render correctly across a few different order types before relying on the template broadly.
- Check that item quantities and shipping addresses always pull through accurately, especially on multi-item and split-shipment orders.
- Decide whether printing is sufficient for your current workflow, or whether automated delivery is worth the cost of a third-party app.
- Test with an unusual order, an international address, a very long product name, before trusting the template at volume.
Testing before you scale
Run a handful of test fulfillments across different order types, single item, multi-item, international, before relying on your customized template at real order volume. A template that looks correct with a simple test order can behave unexpectedly once real-world complexity, long addresses, multiple line items, special characters, gets involved.
A packing slip is a small document that causes outsized problems when it is wrong: missing items, an incorrect address, unreadable branding. Getting the template right once, and actually testing it properly before you rely on it, saves repeated headaches at fulfillment time for months to come.