
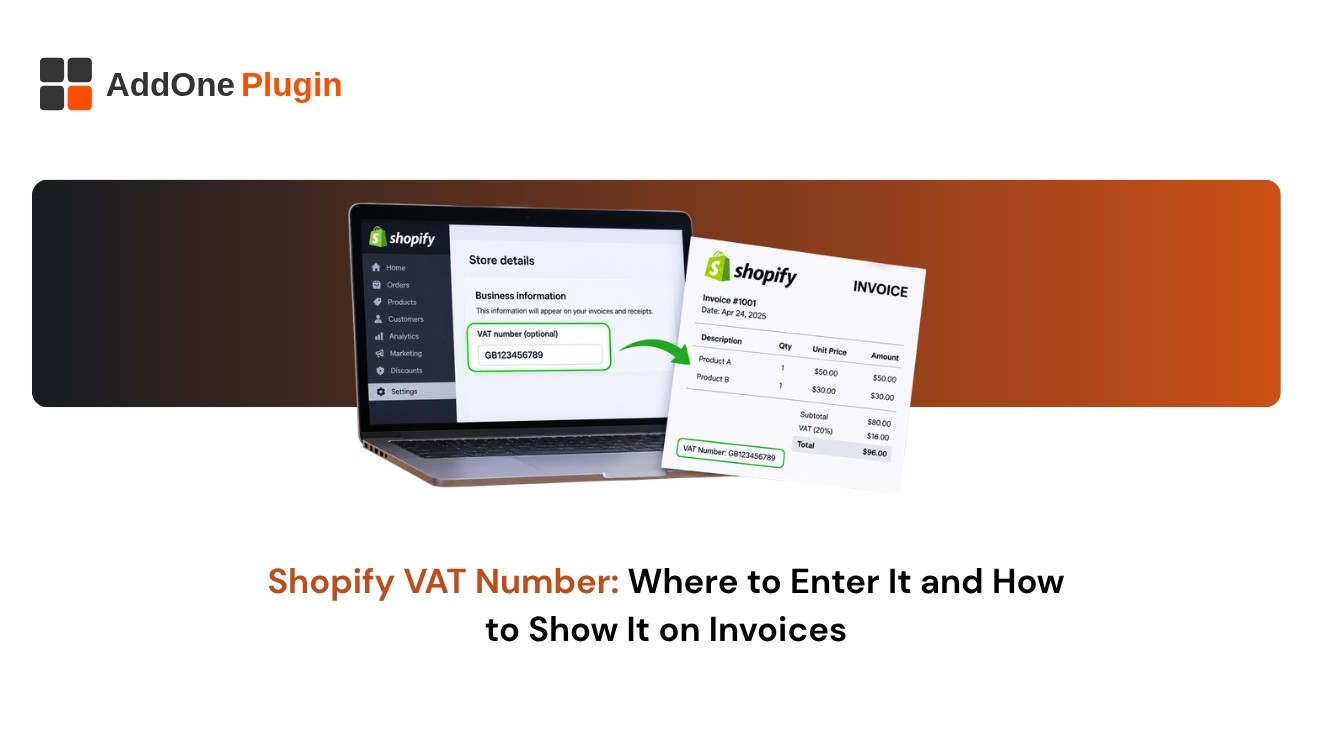
You have a VAT registration, and now your invoices need to show it. Customers in other businesses want to see your number, and they may also want to give you theirs. A Shopify VAT number touches three places: your store settings, your invoices and your checkout.
This guide explains when you need a VAT number, where to enter it in Shopify, how to show it on invoices, and how to collect and check your customers’ numbers.
Do You Need a VAT Number to Sell on Shopify?
Not always. You need a VAT number when your sales cross your country’s registration threshold or when the rules require registration for your type of sale. Shopify does not require one to open a store.
When VAT registration is required
Registration is triggered by tax rules, not by the platform. Selling to EU consumers from abroad, for instance, can create registration duties. Check with your tax authority or adviser.
Selling below the threshold
Below the threshold you may sell without registering, and you would not charge VAT. Do not print a VAT number you do not have, and do not charge VAT you cannot account for.
Where Do You Add Your Shopify VAT Number?
You add your VAT number in your Shopify tax and store settings, then make sure your invoice tool reads it. Menu labels change, so follow Shopify’s current Help Center steps for your region.
Tax registration settings
In tax settings, add your registrations for the regions where you collect tax. This tells Shopify where you are registered and affects how it calculates tax.
Store settings for business details
Your store’s business address and legal details feed documents and emails. Make sure the legal name and address match your registration exactly.
How to Show Your VAT Number on Shopify Invoices
A VAT invoice usually must show your VAT number. Check the required fields for your country in our UK VAT invoice requirements guide.
Native VAT invoice
Shopify’s own order documents may not show your VAT number by default. Review a real order email and print, then confirm what appears before you rely on it.
Custom templates and invoicing apps
Add the number to a template field so it prints on every invoice. With an invoicing app, enter it once in the app settings. Apps can also print the buyer’s number. For the basics, read what is a VAT invoice on Shopify.
How Do You Collect and Check Customer VAT Numbers?
Collect the number at checkout or in the customer account, then validate it before you zero-rate a sale. Skipping validation can leave you liable for VAT you failed to charge.
Capturing the number at checkout
Add a field for the buyer’s VAT number, either through your theme, an app or company profile fields for B2B. Make it required for business buyers who expect VAT-free invoices.
Validating it
For EU numbers, the European Commission offers an official check called VIES. Validate before you issue a zero-rated invoice and keep a record of the result. See our guide to EU VAT number validation for B2B.
VAT Numbers on Automated Invoices With InvoiceForge
Once you set your details, InvoiceForge prints VAT numbers on every invoice, so you do not edit documents by hand.
Seller and buyer VAT IDs
InvoiceForge can show your VAT ID and the buyer’s VAT ID from the order, so business customers get the details they need.
Reverse charge notes
For eligible EU B2B sales, the invoice needs a reverse charge note. Test with a sample order first, and read our VAT invoice guide for the UK, EU and Australia for the wording requirements.
Next Steps
Confirm you need a number, add it in the right places, then test.
VAT number checklist
- Confirm registration status.
- Add your number in Shopify tax settings.
- Check your invoices show it.
- Collect and validate customer numbers.
- Test a reverse-charge order.
Related guides
See how to hide VAT for B2B buyers in VAT-exempt B2B customers on Shopify.
[…] Capture the buyer’s legal name, address and Polish tax identifier (NIP) at checkout for business orders. Clean data is the main thing any KSeF provider will ask for. See how to collect VAT numbers in Shopify. […]